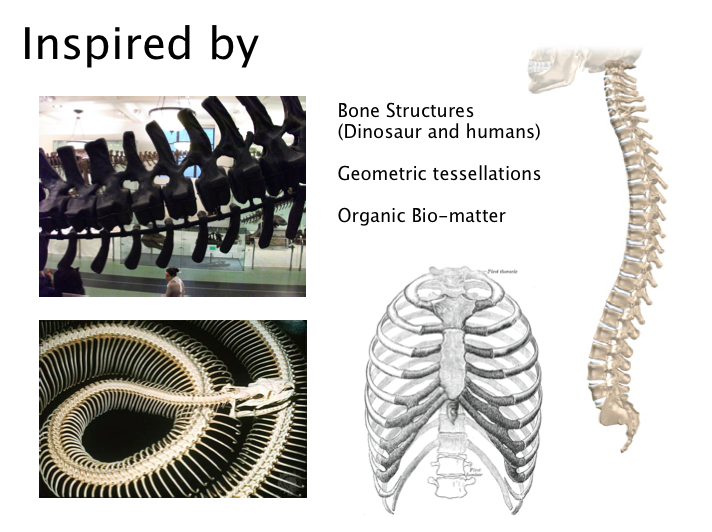
 To include this module into my own design project, I am using similar inspirational imagery and sketches.
 I would like to create a piece inspired by the thoracic cage (rib cage) of a human. The overall simple bone structure and the curves could create an interesting model.
Below are some of my sketches and conceptual ideas for my rapid prototype.


Once I had a rough finalized idea on what I wanted to produce, I made a quick simple model in 3DS Max.

The idea is there however there are still major developments to be made. I really want the pieces to look organic and have some reference to the thoracic cage.
To produce this piece I am going to have to use a selection of tools that we have been taught. The simplest way would be to produce a single shape and extrude/bevel to manipulate it to form a bone inspired piece. Once the single piece has been made I can use the Align tool and repeat the object around a helix (circle). Attaching/linking all the pieces together and target welding the vector points (applied to the corners of every shape used) together to form a solid model. It would then be a matter of rescaling the object and checking everything is intact.
It does sound simple however I feel to do this professionally, it will take time.


 I have also come across some interesting articles written about rapid prototyping including design and how designers are tackling the restrictions of 3D printing to produce new and exciting pieces.